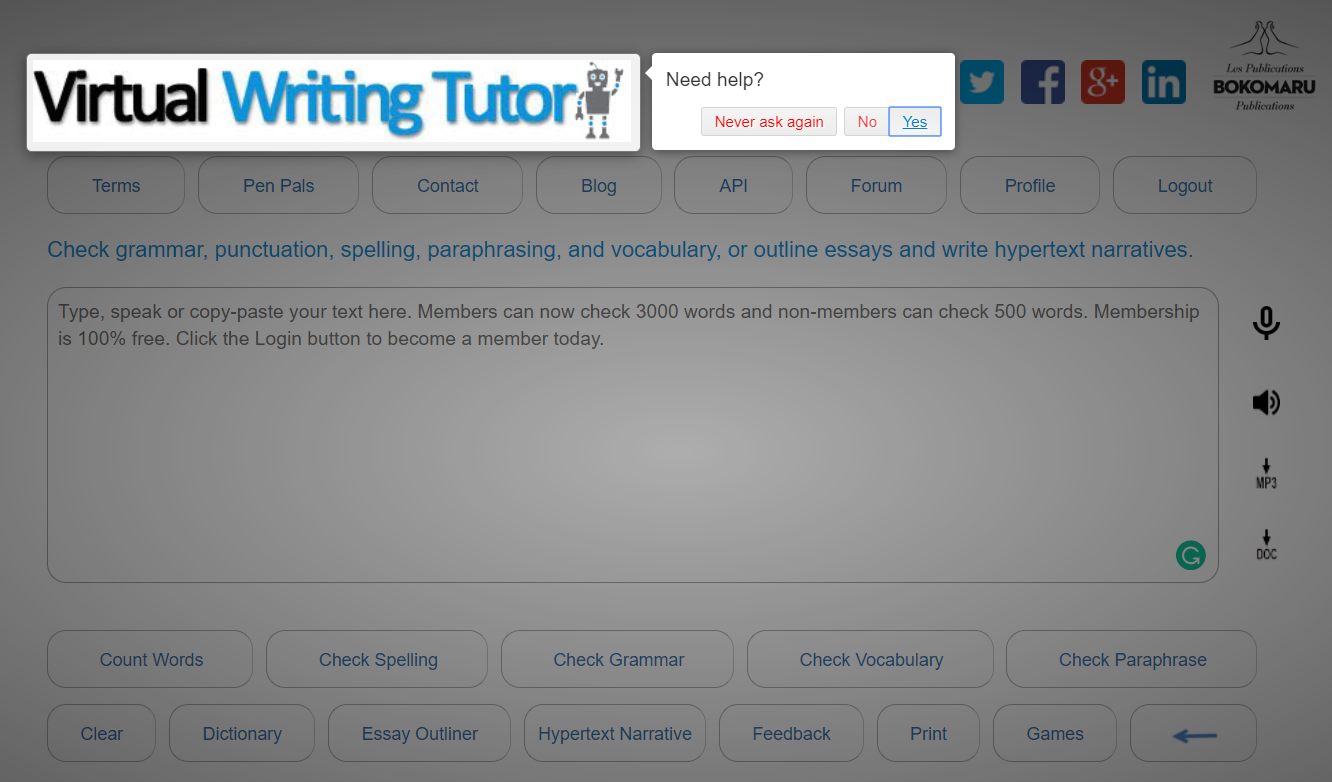
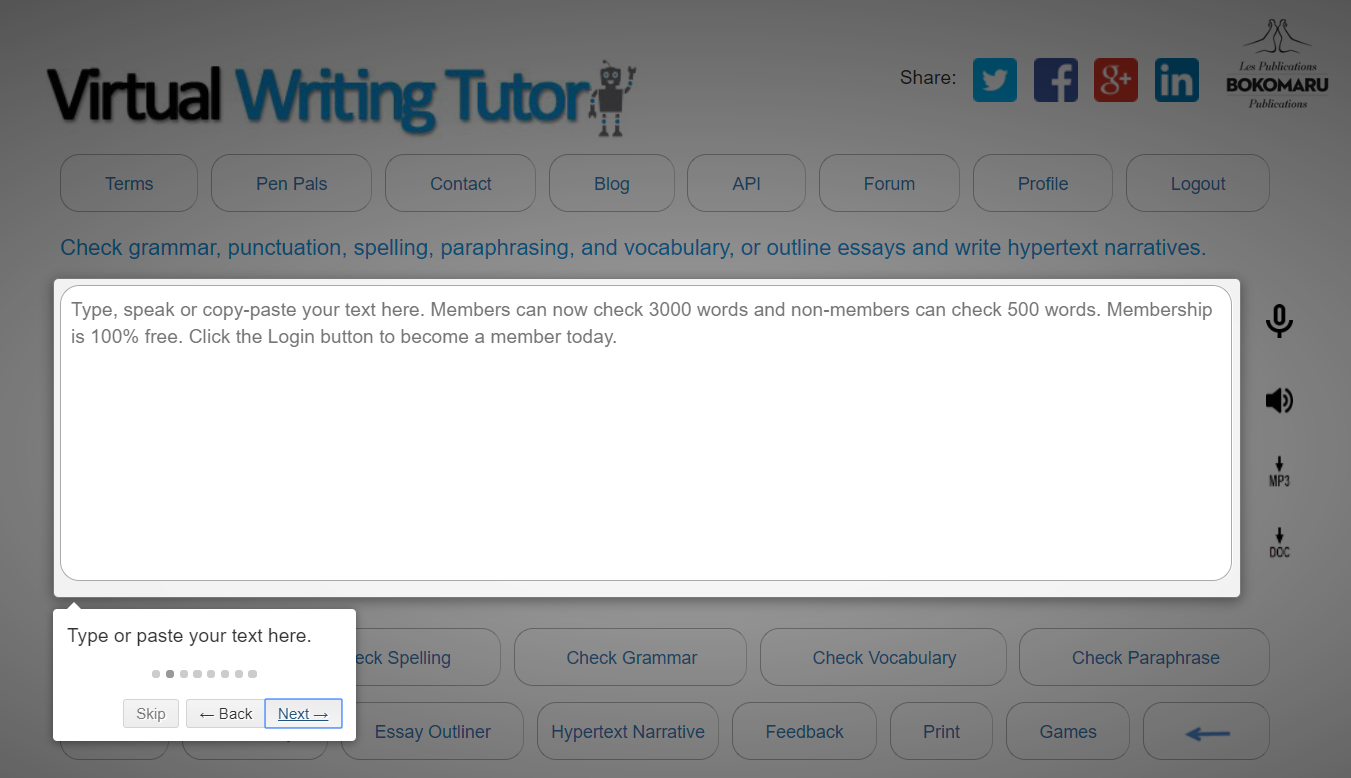
You may have noticed the latest addition to the Virtual Writing Tutor grammar checker main page. It’s a short little walkthrough of the principal features of the grammar checker for newcomers. You only get to see it twice before it disappears forever. Why did we add it?
The Problem
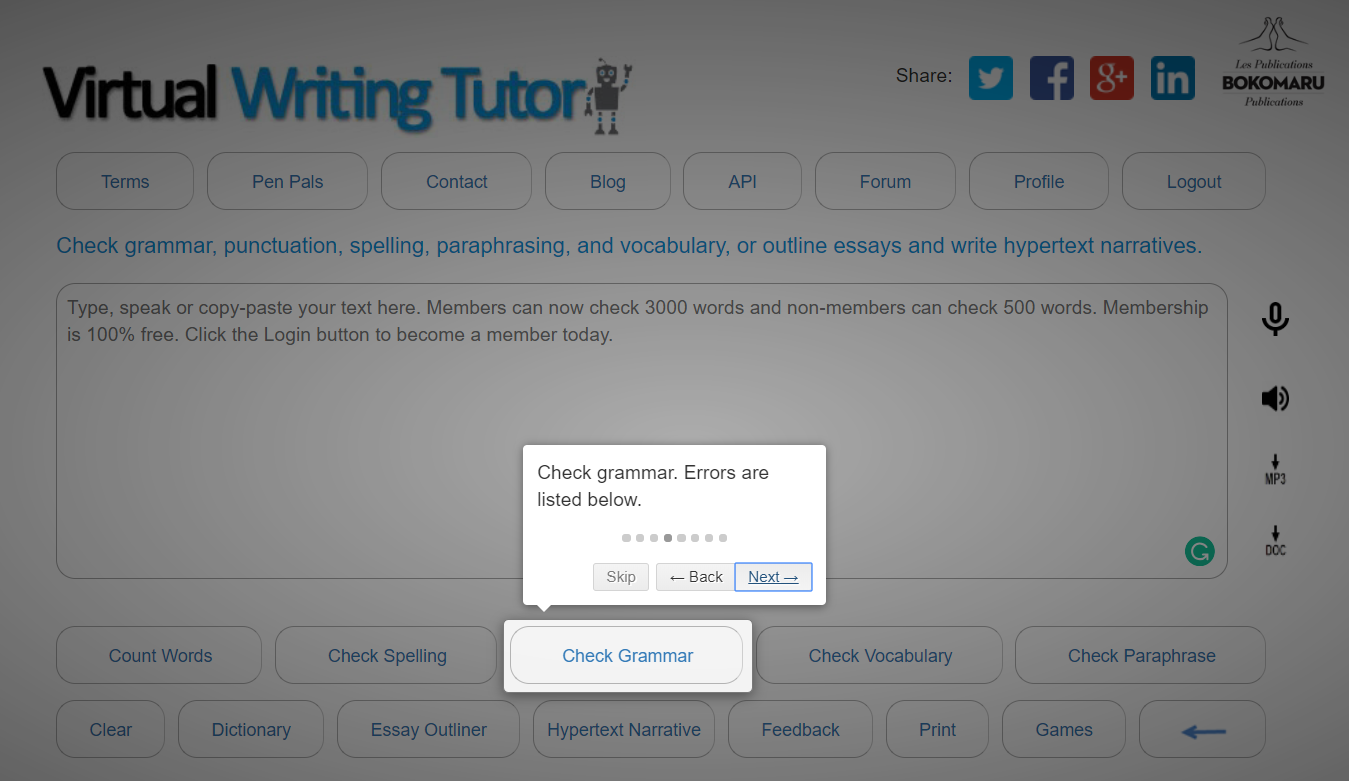
One usability issue I see again and again is my students rushing to click on the grammar checker button, forgoing all others. Why is that a problem, you ask? It is a grammar checker, after all.
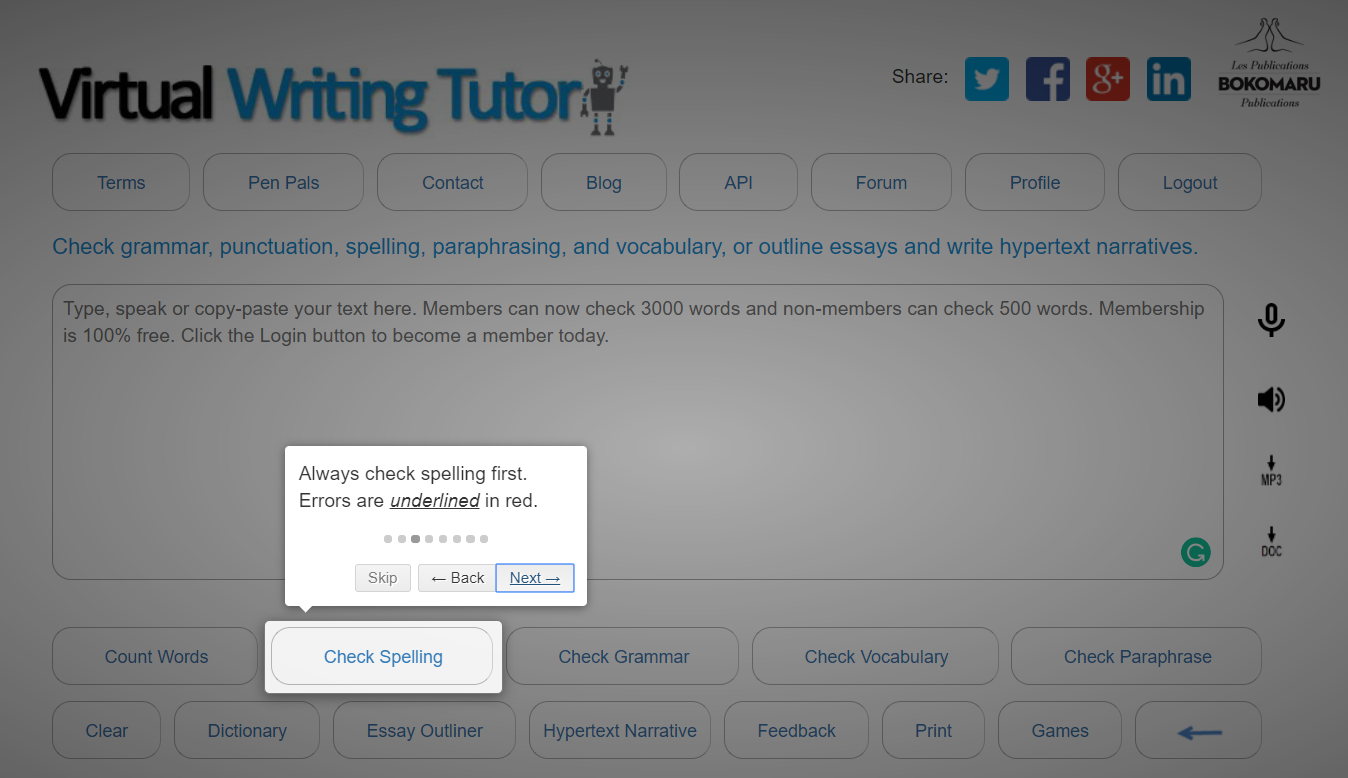
Simply put, the grammar checking engine works much better if you eliminate your spelling errors first because it needs to recognize the parts of speech for each word in a sentence before it can tell if your sentence has any errors in it. If you write “It dont work,” the system can’t check for a verb agreement error if it doesn’t recognize “dont” as a verb first.
Clicking the “Check spelling” button, eliminating your spelling errors–in this case by adding an apostrophe–and then clicking “Check grammar” is likely to produce better results every time. As with any tool, using the Virtual Writing Tutor step-by-step will help you eliminate more errors in the long run.
The Solution
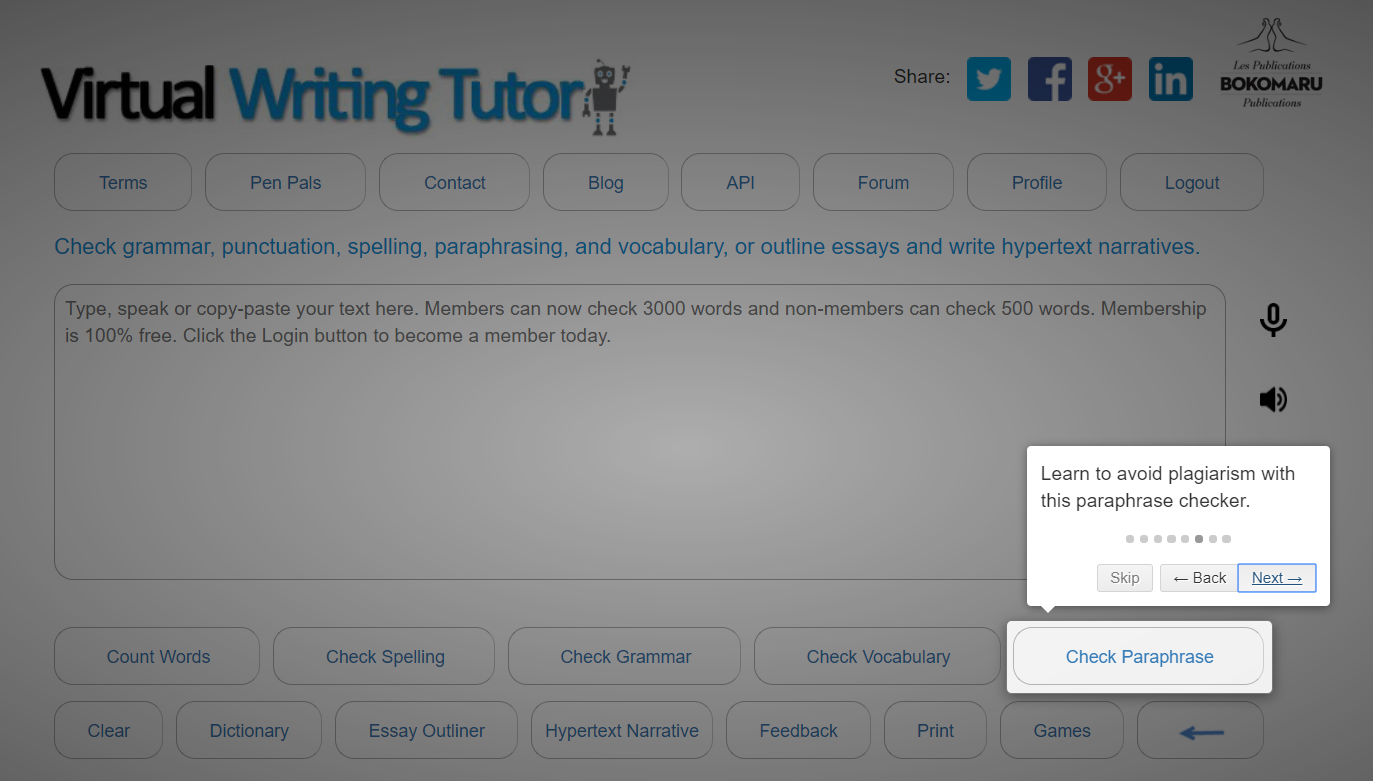
So, how can we get users to learn the steps to produce the best results? A little training is in order. That’s what motivated us to add this “Show-Me-How” walkthrough tutorial.
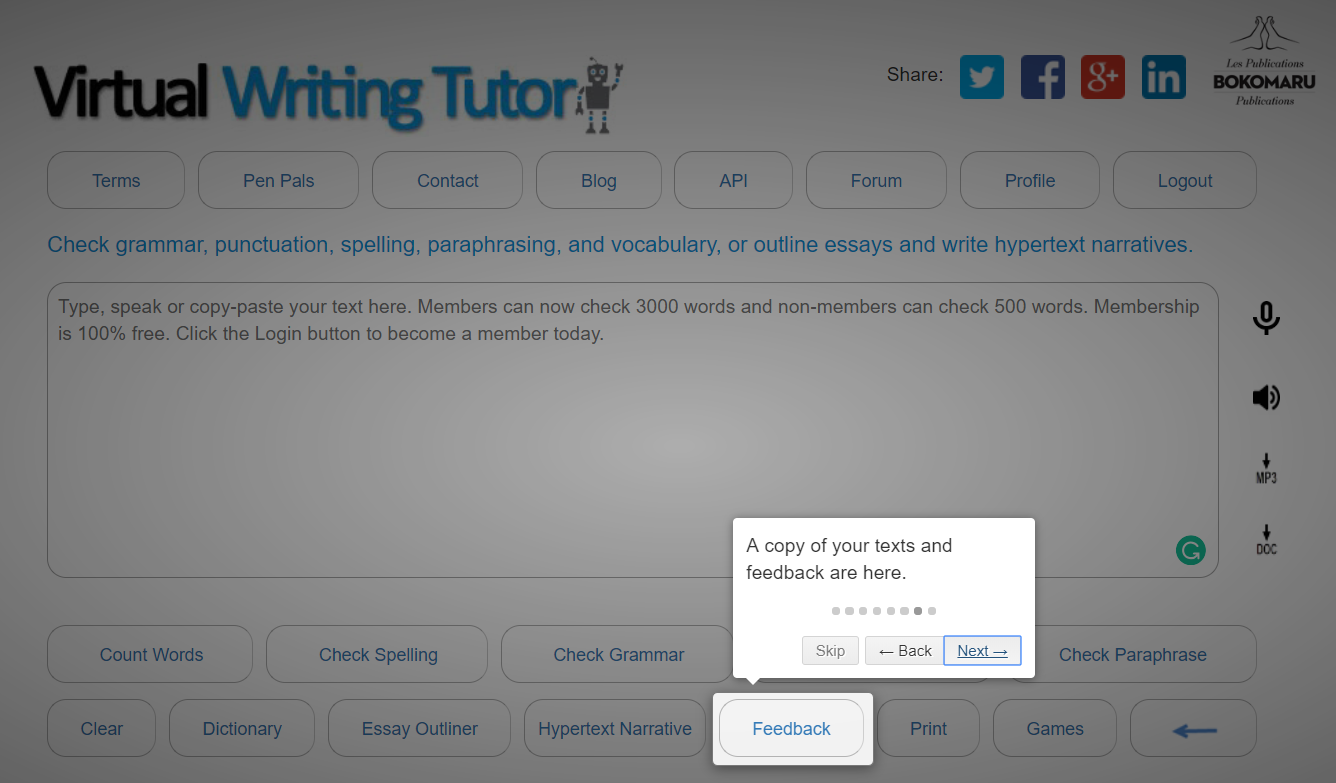
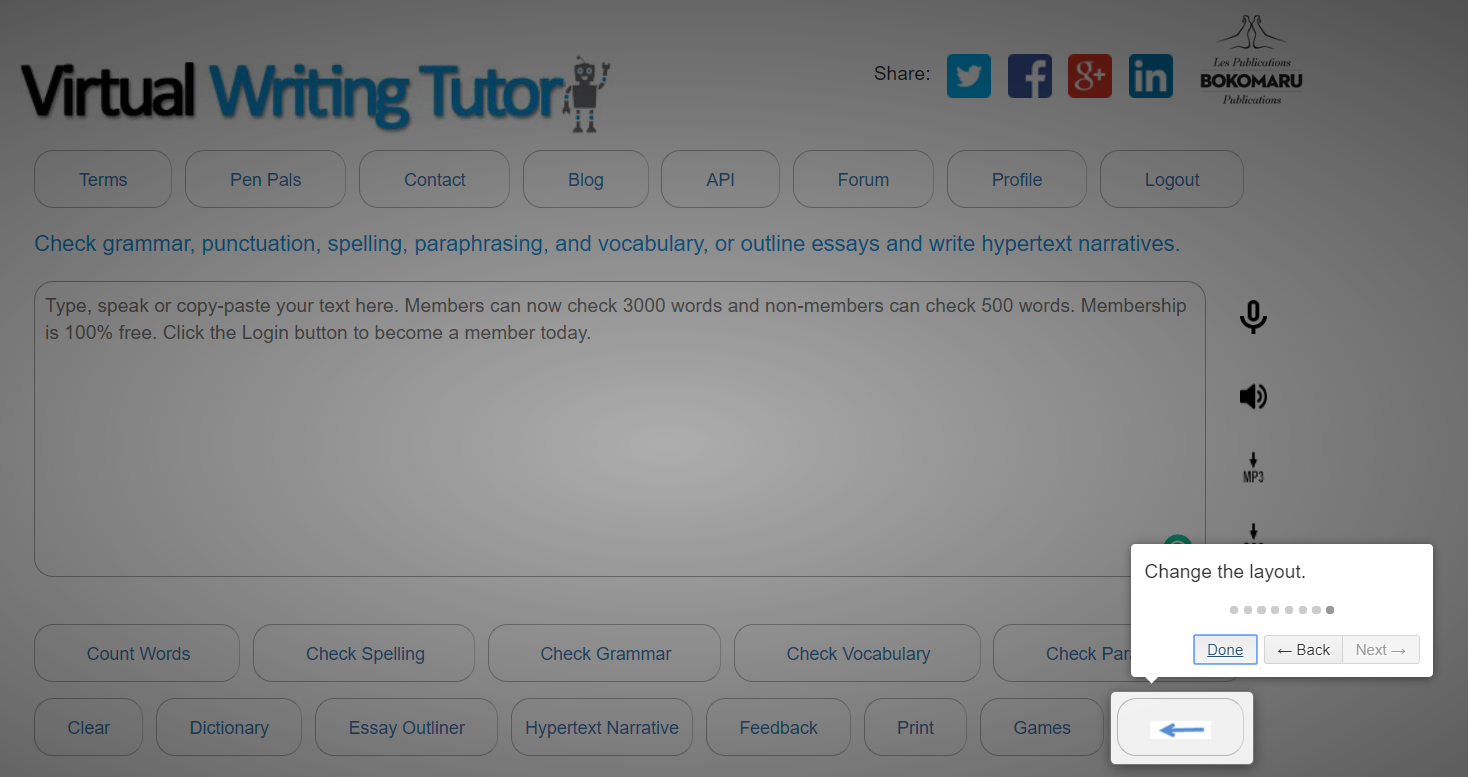
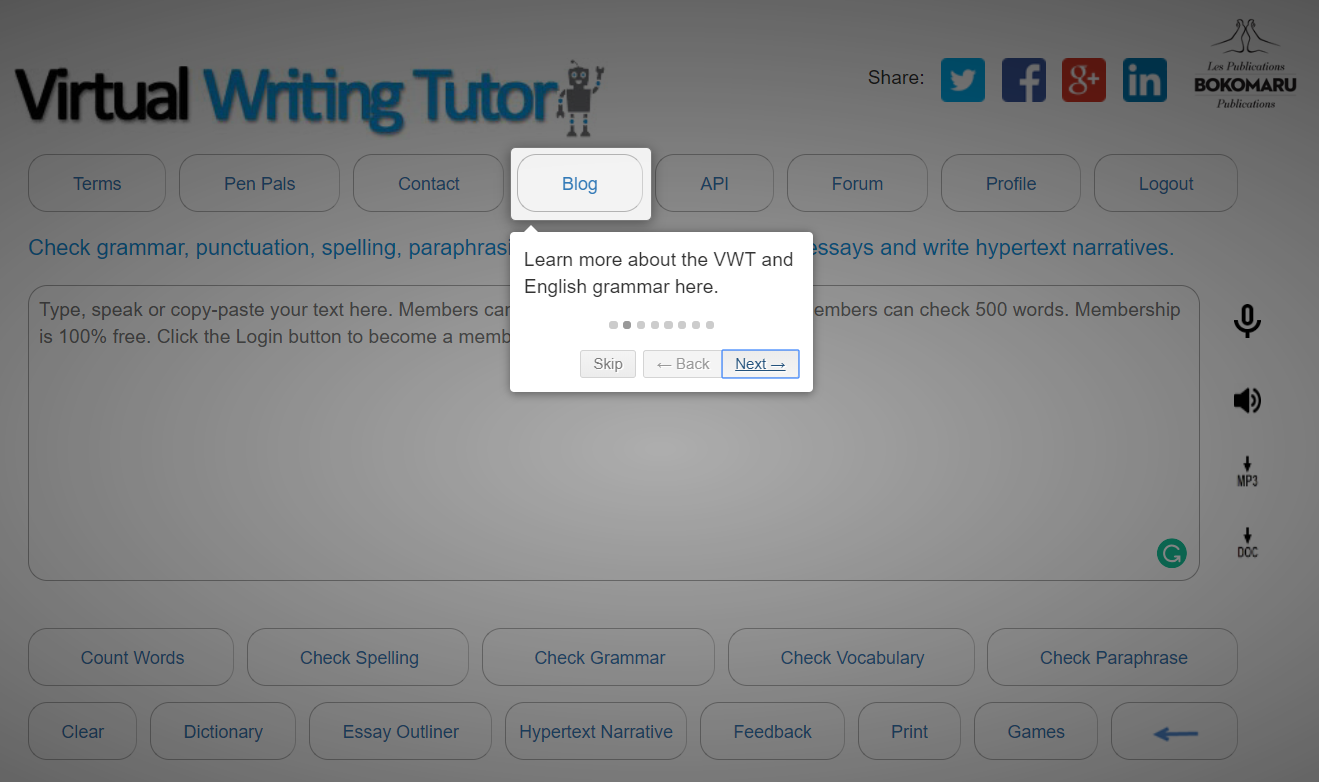
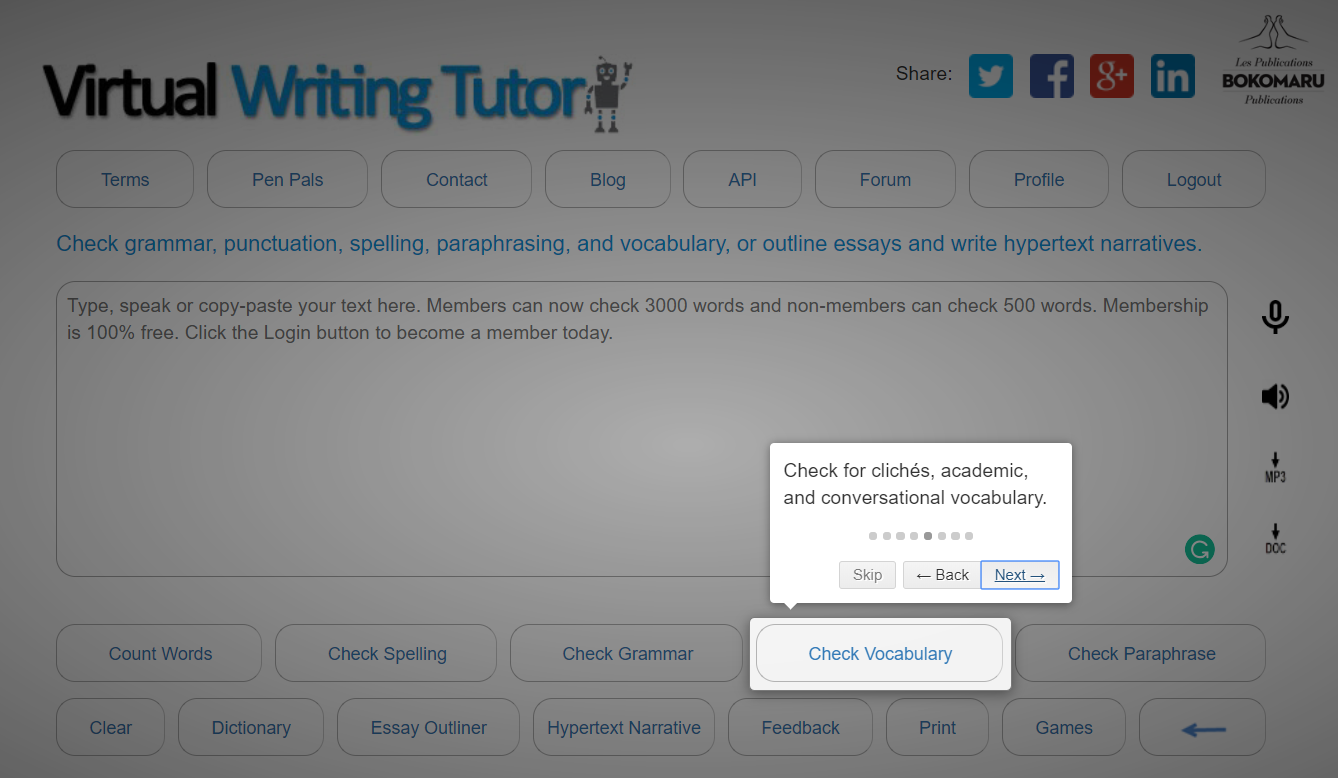
Of course there are other features that are underused and could learners improve their writing if they only knew about them, so here are the 9 steps of the walkthrough we added to the VWT. If you follow or dismiss the walkthrough tutorial twice, it will never show again. We store a cookie in your browser to keep count.
Add this feature to your website
If you would like to add this “Show-Me-How” feature to your website, drop us a line and we’ll send you a quote. It won’t be expensive because we have done all the design, research, and testing beforehand. You’ll benefit from our experience.